
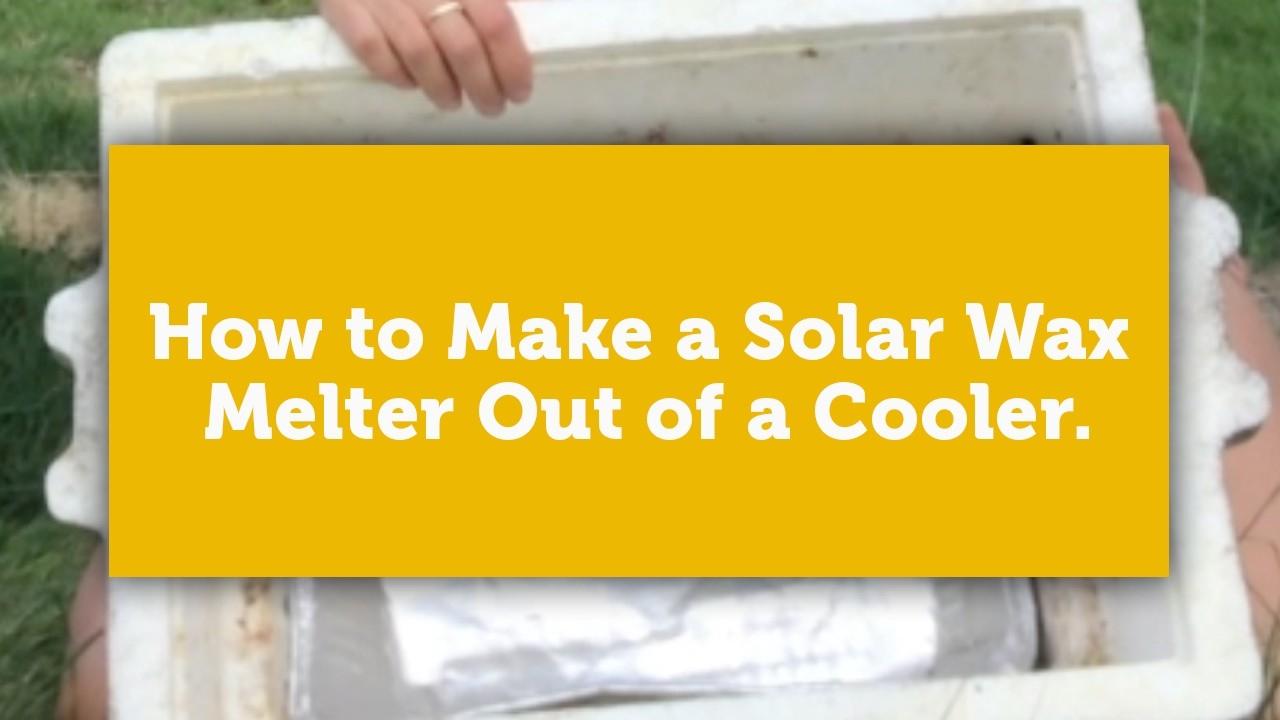
How to Make a Solar Wax Melter Out of a Cooler. No Tools Needed!
Aug 25, 2020There are different ways to make a solar wax melter. The way I did it is probably the easiest and the fastest way to make one. That's why I chose this design, after all. I have an 18 month old child running around trying to throw his toys into the toilet. I don't have the time to build even the simplest of things. Here in Hawaii, we gets lots of sun and this design works great. However, I also include a few ways to make yours work better if you don't get as much sun.
Here's how you can make a solar wax melter in under 10 minutes
Materials:
- cooler without a lid (or hinge) over the opening
- piece of glass or thick plexiglass that is large enough to cover the top of the cooler
- 2 clamps tall enough to hold the glass over the cooler or heavy rocks to put on the corners
- #8 hardware cloth OR a strainer
- aluminum pan large enough to cover the bottom of the cooler
A few things to mention about the materials. I used a styrofoam cooler because it was the only kind that didn't have a hinge on the top. Other coolers will work well too. You can use the glass from a picture frame, but don't buy a fame with plexiglass. These are too thin and won't work. The #8 hardware cloth is the perfect size for almost all beekeeping tasks because the holes are too small for a bee to fit through but big enough for a small hive beetle to fall through. I found mine at ACE hardware. Holes a little smaller are ok, but you don't want the mesh to be too small or else it will get clogged fast. If the holes are too large, then larvae and the propolis casings from brood comb will fall through.
Directions:
- Measure the very bottom of the inside of your cooler. Find a pan that will fit inside. The aluminum pan I used in my melter is a little too short on one end and too long on the other. However you can just crush the pan a little to make it fit on the one end and if its too small, you can flex the sides outward to make it a little larger. It's not crucial for your pan to fit perfectly in the cooler. You just want it to catch most of the wax dripping from your basket above.
- Next, make a basket for the comb. Measure the size you want the basket to be. If there's a shelf in your cooler, this is a good place to put the basket. If there isn't, then measure 3-4" above the pan in the bottom.

- Take the final measurement for your basket and add 6" to either end. So, my final basket size should be 10"x14.5". Therefore, I am cutting out a piece of hardware cloth that is 16"x20.5". Cut out the hardware cloth.

- Cut 4 slits in your hardware cloth 3" in and 3" from the end.
- Fold up the cloth so that you make a rectangular basket. See the photo below and the video for further explanation on how to do this.

- Optional, staple the basket sides together.
- Place basket into the cooler and pile comb in basket.
- Lay glass on top of cooler and hold shut with clamps on opposing corners or heavy rocks. You should be able to tell if there is a slight gap between the glass and the cooler. If there is a gap, add more clamps or rocks to the corners. you want little to no heat to be able to get out.
- Add a rock under the cooler to angle it towards the sun.
This works well for me here in Hawaii where we get intense sun in the mornings and it often is cloudy by 1pm. The darker wax, the longer it will take to melt. The lighter wax takes a few hours. Darker wax may take an entire day. It might be days or even a week before we get a long day with abundant sunshine to melt everything in the cooler. If you don't have enough sunshine to melt the comb, line the inside of the cooler with aluminum foil.
Why I Wish I Made a Solar Wax Melter Years Ago
I knew solar wax melters existed, but I didn't make one until I had been keeping bees for over 10 years. Even here in Hawaii, where we have abundant sunshine, I didn't see the need for one. That was until I had a lot of old, dark comb and nothing to do with it.
I tried melting it the way I do the wax cappings after a harvest, but all I was left with was a lot of propolis casings and a little chunk of brown wax. It was a huge waste of time and energy!
Then someone suggested the solar wax melter and I was amazed. The solar wax melter melts the beeswax so that it drips into the pan below and leaves all the dirt and propolis casings in the basket above. I got a little hunk of yellow wax and I didn't have to waste electricity and time melting a big pot of comb to get it. I can't believe I didn't make one sooner.
If you want to learn why I remove my frames of old, dark comb from my hives, check out our article about it.
For those of you who would rather build something more substantial and that will last longer, here are the plans for a wooden solar wax melter. This will also be a better option for those of you who don't get as much sun.
Want to learn more about beekeeping?
Join our newsletter for blog updates, beekeeping videos, sales and contests.


